
High Elbow in Freestyle: Four Angles You Must Hit
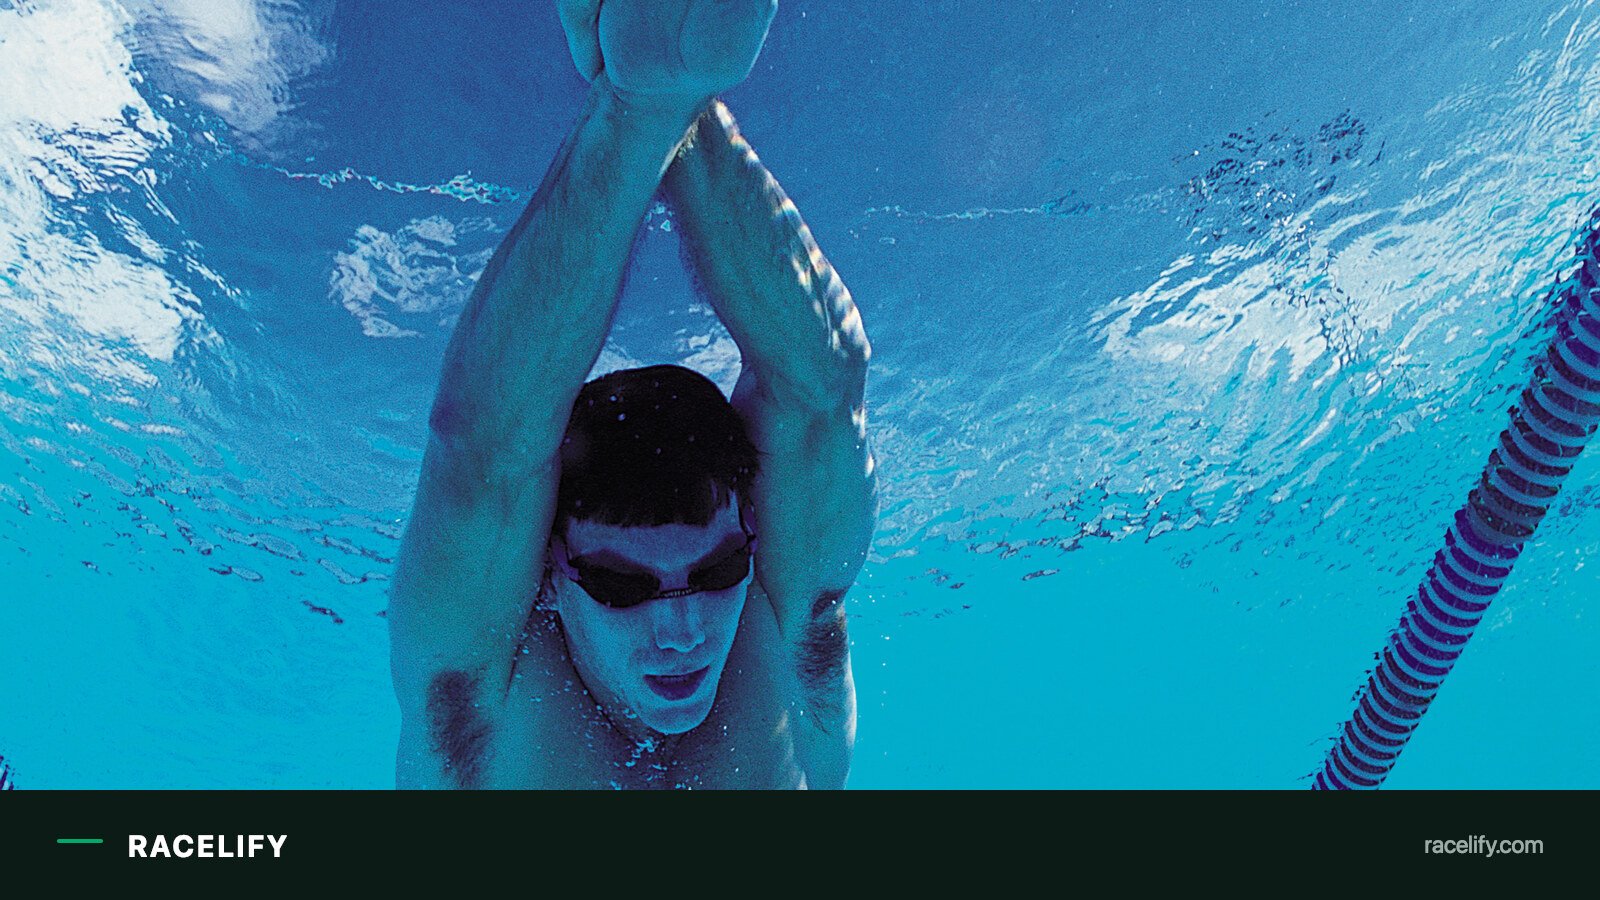
You kick harder, and you still swim the same pace you did six months ago. The problem is almost never in the legs. It is in what your hand does in the first second after it enters the water, and you cannot see that, because it happens below the surface, out of your own field of view.
The dropped elbow: a fault you cannot see on yourself
The classic pattern: the hand enters the water, the elbow drops straight toward the pool floor, and the hand leads the movement forward and down. It looks like swimming, but physically that arm is pushing water down, not back, and only the backward push produces propulsion. The result: you work the same amount or more, and move slower than you could.
This is the dropped elbow, one of the most common technical faults among amateur swimmers, including many who have been swimming for years. The correct version is called Early Vertical Forearm (EVF), known simply as the high elbow.
Dropped elbow versus high elbow in freestyle Comparison of two arm positions during the catch phase. On the left, a dropped elbow, angle about 150 degrees, force pushes water down. On the right, a high elbow, angle about 90 degrees, forearm vertical, force drives water backward. Dropped elbow arm nearly straight, force goes into the pool floor water surface direction of travel approx. 150° water goes down almost no propulsion elbow low, leads the movement High elbow (EVF) forearm like a paddle, force goes backward direction of travel approx. 90° hand directly under the elbow catch surface water goes backward this is propulsion elbow high, close to the surface Order: the hand enters and reaches forward, the elbow stays high and bends to about 90°, the forearm goes vertical before the hand passes the shoulder line. Only then do you pull.The difference is brutally simple. With a dropped elbow, the arm stays nearly straight, around 150° at the joint, and that whole plane pushes water into the pool floor. With a high elbow, the upper arm travels horizontally just under the surface, the forearm drops vertically, the angle closes to 90°, and the catch surface works backward.
What this fault actually costs you
Honesty matters here, because a lot of unsupported promises circulate online.
The most cited figure comes from work by Takagi and colleagues: the hand accounts for 90 to 97% of propulsive force in freestyle. At first glance that seems to undercut the whole point of EVF, since the forearm contributes so little. In reality it says something else, and something more important: the high elbow is not about adding forearm surface area, it is about keeping the hand facing backward through more of the stroke, rather than downward. The forearm is a support here, not the main paddle.
What does not exist: a peer-reviewed study measuring how many seconds per 100 metres adopting EVF is worth, or how many weeks it takes to learn. This is coaching consensus backed by observation of elite swimmers, not a validated intervention with a control group. Treat it as good practice, not as a guaranteed prescription.
Anatomy of the catch: four angles you have to hit
The high elbow is not a single position, it is a sequence. Below is the same cycle broken into four moments.
Four catch phases in freestyle with elbow angles One arm cycle split into four phases: hand entry at an angle of about 150 degrees, forward extension at 175 degrees, elbow bend to 135 degrees, and forearm set vertical at 90 degrees. One arm cycle, four phases The elbow angle drops from a nearly straight arm to 90°. All the work happens in the first third of the pull. 1 Hand entry approx. 150° The hand enters flat, fingers first. The elbow stays higher than the hand. 2 Extension approx. 175° The arm is nearly straight, the shoulder follows forward. This is not the pull yet. 3 Elbow bend approx. 135° The elbow stays in place and bends. This is the first 1/3 of the pull. 4 Forearm vertical approx. 90° Hand under the elbow, before it passes the shoulder. Only now do you pull yourself forward. Most common mistake: jumping from phase 2 straight into pulling with a fully straight arm. The elbow drops and you are back to the variant that pushes water into the pool floor.Entry, around 150°. The hand enters flat, fingers first, somewhere between the shoulder line and the head line. The elbow is already higher than the hand at this point.
Extension, around 175°. The arm straightens forward, the shoulder follows it. This is the most commonly skipped phase: here you are not yet pulling, only reaching.
Elbow bend, around 135°. The elbow stays in place and starts to bend, while the forearm drops down. This is the first third of the pull, where the movement comes almost entirely from the elbow bending, not from pushing with the whole arm.
Forearm vertical, around 90°. The hand lands directly under the elbow, before it passes the shoulder line. The upper arm sits at roughly 45° downward at this point. Only from here do you pull yourself forward, past the anchor point.
If you remember one thing from this, make it the order: reach, bend, then pull. The most common mistake is skipping straight from phase two to pulling with a fully straight arm.
Start from the shoulder, not the elbow
This is the part most guides skip entirely, and it is what decides success.
The elbow rarely drops on its own. It drops because the shoulder dropped first. If you let the shoulder sink during the reaching phase, the elbow has no way of staying high, no matter how much you want it to. Effortless Swimming calls this the main cause of the problem, and the cue is: keep the shoulder near the cheek.
The target position is described like this: shoulder and upper arm in one line, forearm and hand dropping down, the whole shape forming half a diamond, fingers pointing down. From the front it is obvious immediately. If the elbow sits closer to the body’s centreline than the hand, you are in the dropped-elbow variant, regardless of how it feels.
A second cue that works during the pull phase: the hand and forearm should stay parallel to the wall behind you. That one sentence replaces half a page of theory.
The barrel under the water
Coaches use the image of a barrel lying just below the surface, in front of you. To wrap your arm around it, you reach over it while keeping the elbow high, then bend the arm so the fingers drop down along its curve.
That is exactly the high-elbow motion: instead of slicing through the water with the hand like a knife, you hook onto it with the forearm and only then pull yourself forward. This image works for a lot of swimmers, and does not work at all for many others, in which case you need repetitions that physically force the different movement.
Progression: four drills in order
The order matters, because each drill assumes the previous one has already given you something.
1. Sculling, up and down. Slow, wave-like forearm movements close to the surface. It teaches the most basic thing: feeling pressure on the water instead of slicing through it. Without this, everything else is movement without feedback.
2. Fist drill, swimming with a closed fist. It removes the hand as a catch surface and forces you to grip the water with the forearm. After a few lengths, switch back to a normal catch and the change in feel is often immediate.
3. Catch-up drill. One hand waits, extended out in front, while the other completes a full cycle and only then takes over the position. It slows the cycle enough to let you feel each phase separately. It teaches patience during the extension phase, exactly where most people rush.
4. Single-arm swimming with a front snorkel. The snorkel keeps the head stable, so all the attention goes to shoulder, elbow and forearm position, without the distraction of breathing.
Deliberately, no specific sets or volumes are given here. No study exists that would define them, and prescribing “4 × 50 m” out of thin air would look like knowledge it is not. Weave these drills into the warm-up and the rest between main sets, and keep doing them for as long as you can feel the difference between them and normal swimming.
If visualisation and drills alone are not enough, technique paddles that stiffen the forearm and physically prevent the elbow from dropping are available.
How to check whether it is working
Three ways, all free except the last.
Fist drill as a test, not as a drill. Swim 50 metres with fists and 50 normally. If the pace difference is huge, your catch relies almost entirely on the hand, meaning the elbow is most likely dropping.
Count strokes per length. The same speed with fewer strokes means each stroke is moving more water. It is the one measure that does not lie and needs no equipment.
Film yourself from the front and from below. The side view, the most common one, is actually the worst at showing elbow height. A front-on shot settles it in two seconds.
When the high elbow is not the priority
If your main problem in the pool is still body position, meaning your legs sink, your head sits too high, or you lack trunk rotation, fix that first. A catch built on a poor foundation will not work anyway, because the force from the arm will fight the rest of the body instead of adding to it.
The high elbow matters most over distances above 100 metres without a break, which covers the entire triathlon swim leg, from sprint to full distance. A short, fast sprint forgives far more technical faults than an hour in open water does.